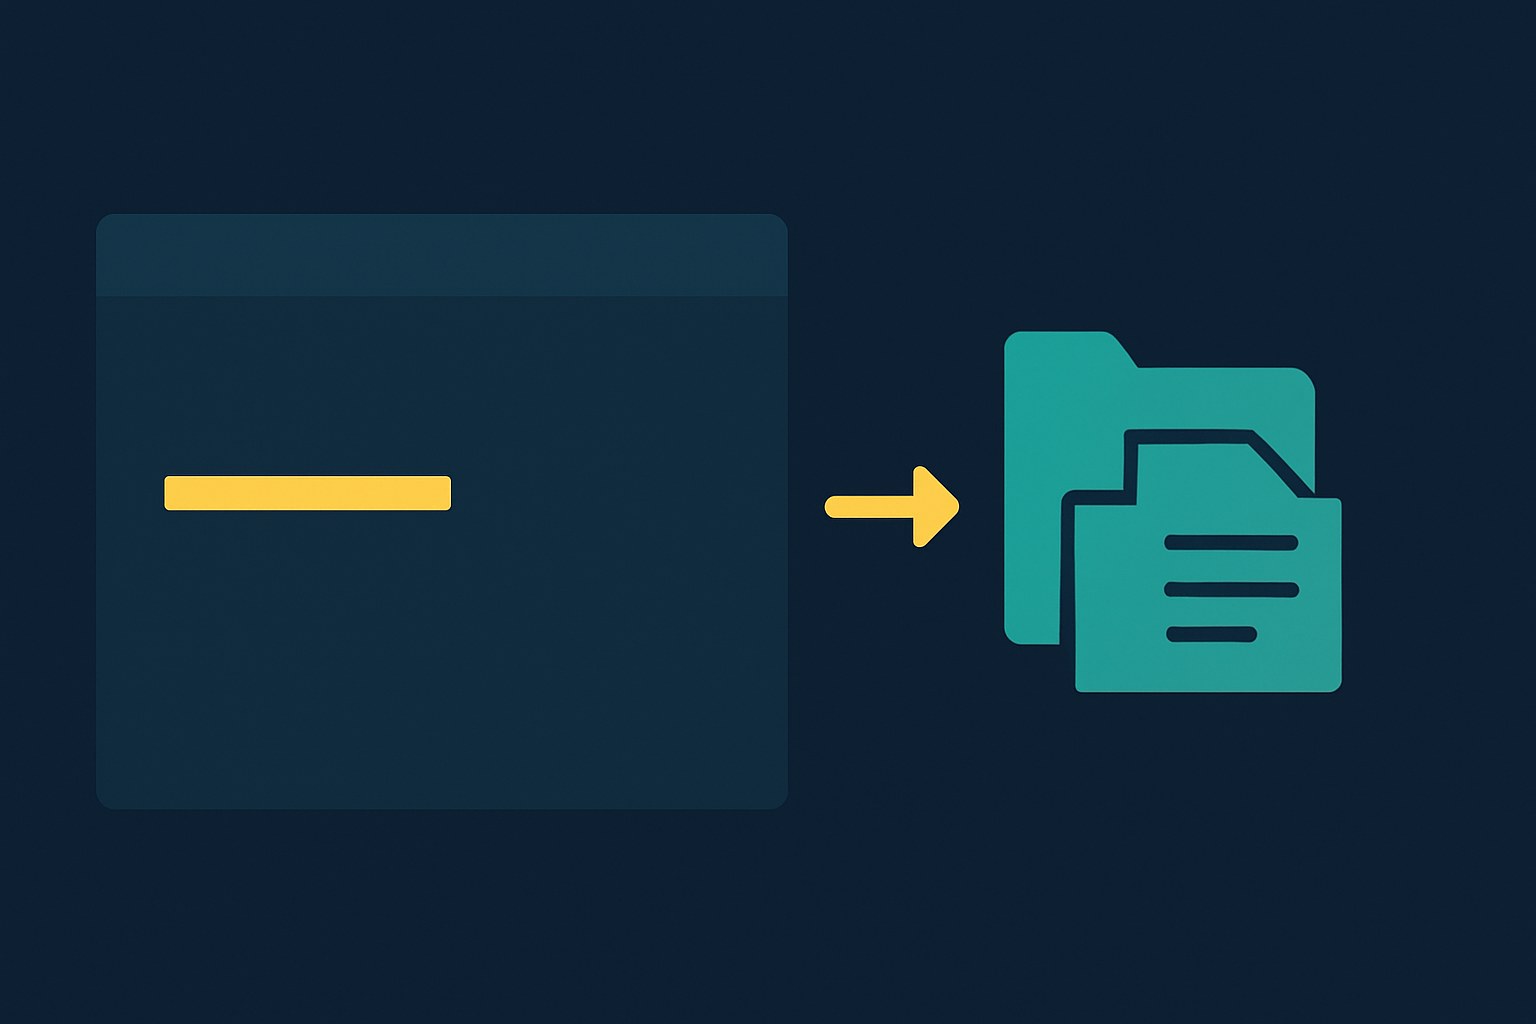
If you've been using ChatGPT to help with code, you know the drill: paste some code in, get something back, copy it somewhere, repeat. Codex CLI skips that loop entirely. It's an agent that runs in your terminal, reads your actual project files, and can make real edits and run real commands. Think less "AI I ask questions" and more "AI that sits in my repo with me." It's open source, still under active development, and worth trying if you're comfortable in a terminal.
An AI agent in your terminal, not a chat window
The old OpenAI Codex was a code-completion API model, that's been deprecated and this isn't it. The Codex CLI is a completely different thing: a local coding agent you run from your terminal that connects to OpenAI's models through the Responses API.
What that means in practice: you open your project folder, launch Codex, and type something like "add error handling to the fetch calls in api.js." Codex reads the file, figures out what needs changing, shows you what it plans to do, and makes the edits. It can also run commands already installed on your machine, like running your test suite after making a change.
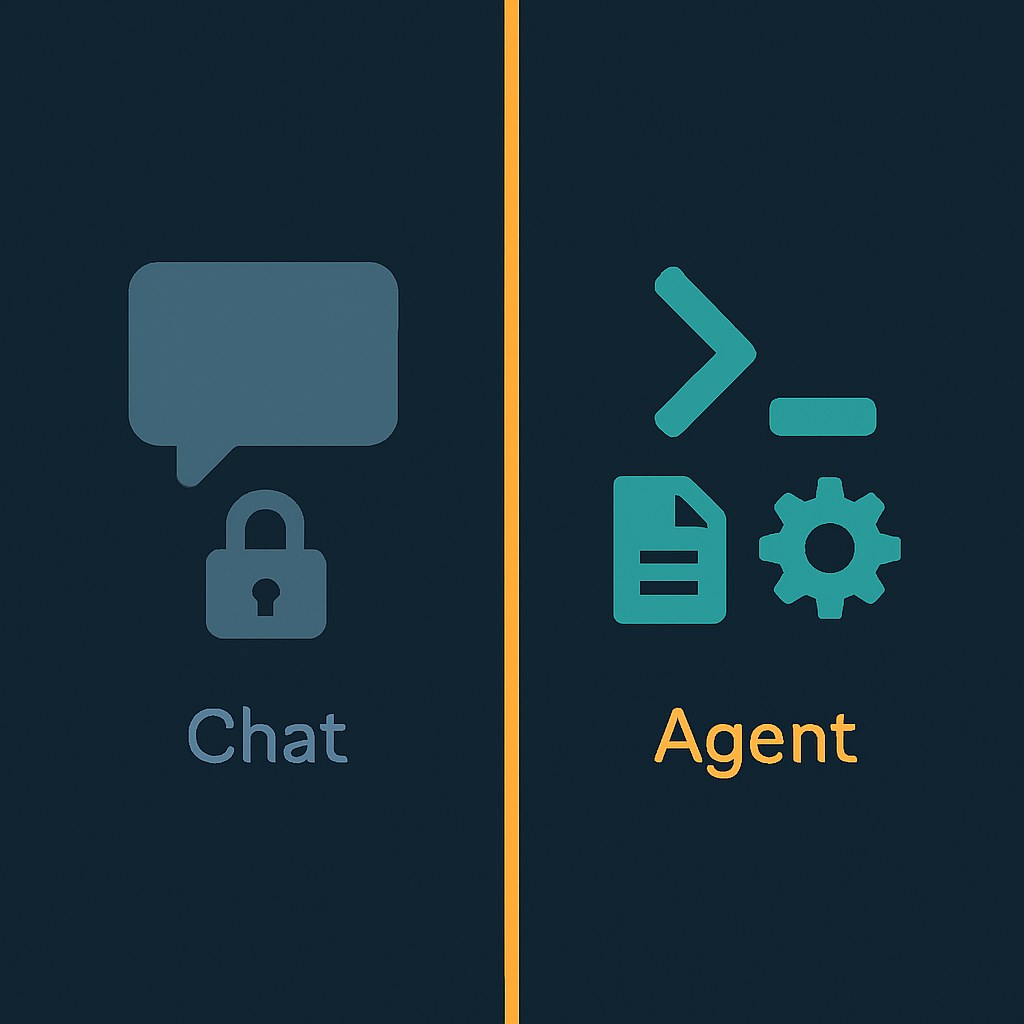
The key difference from pasting code into ChatGPT is context. Codex can see your whole working directory, not just whatever snippet you remembered to copy. That changes what you can actually ask it to do.
How to install it and run something on day one
Codex CLI is open source and lives at github.com/openai/codex. The quickest way to install on Mac or Linux is a single shell command:
curl -fsSL https://chatgpt.com/codex/install.sh | sh
On Windows with PowerShell:
irm https://chatgpt.com/codex/install.ps1 | iex
You can also install via npm (`npm i -g @openai/codex`) or Homebrew, the exact Homebrew command isn't confirmed in official docs, so check the GitHub README for the current one. Note: Windows support may run through WSL2 or a native sandbox mode depending on your setup, the official config reference has the current details, since this is still evolving.
Once it's installed, sign in with your ChatGPT account or drop in an OpenAI API key. If you already have a paid ChatGPT subscription, you may be able to use that directly without a separate API key, check the official CLI page to confirm which plans qualify, since the specifics aren't fully spelled out in every doc. If you don't have a subscription, you'll need API credits, there's no confirmed standalone free tier for new accounts.
Then navigate into a project folder and just run `codex`. It'll drop you into an interactive session. Try something concrete: "list the functions defined in this file" or "write a README based on what's in this repo." You'll see it working with your actual files, not hypotheticals.
What it's allowed to do, and when it asks permission
This is the part worth understanding before you let it loose.
Codex CLI has two independent controls: a sandbox mode (what it's technically allowed to touch) and an approval policy (when it stops and asks you before acting). By default, the sandbox limits it to your current working directory with no outbound network access. It can read files, edit files, and run local commands within that workspace, but it can't reach the internet or wander outside the folder you started in without explicitly asking you first.
The default approval policy is called `on-request`, which is part of the "Auto" preset. In practice that means it'll handle straightforward actions on its own but pause and ask before doing anything riskier or outside its boundaries. The exact line between "go ahead" and "ask first" is worth reading up on before you run it on anything important, the official agent approvals docs have the details. You can tighten this to require approval for every action, or loosen it to `never` if you want it to run fully hands-off. There's also a `danger-full-access` sandbox mode if you deliberately want to remove restrictions, but that name is doing a lot of work, and you probably don't need it starting out.
On macOS this sandboxing works out of the box using the system's built-in security framework. Linux and WSL2 have their own implementations. The setup differs a bit across platforms, so check the official docs if something feels off.
One last thing: the tool is still in very active development, with frequent updates and model defaults that have already shifted since launch. Check the official model docs for what's current rather than relying on anything you read secondhand, this is moving fast. We haven't tested this ourselves; this guide is based on official OpenAI documentation and the public GitHub repo.
If you've wanted an AI that actually works inside your codebase instead of alongside it, Codex CLI is the most direct way to try that right now. Start small: point it at one file, give it a specific task, and see how it handles it. The sandbox defaults are reasonable, so you're not risking much by experimenting.