Characters were the easy part. Backgrounds are harder because you're not just making one pretty image, you need it to match what you already have, tile without visible seams, and not break your game layout when you drop it in. The good news (and the actual point of this guide) is that the tools you already used in Part 2 can do most of this work. You just need to use them a little differently.
Getting your backgrounds to look like they belong in the same game
The reason backgrounds feel harder isn't technical, it's that you're now generating assets that have to relate to something that already exists. A character you made in isolation can look however it wants. A forest background has to feel like it lives in the same world as that character.
The fix is style reference. Every major tool supports some version of this:
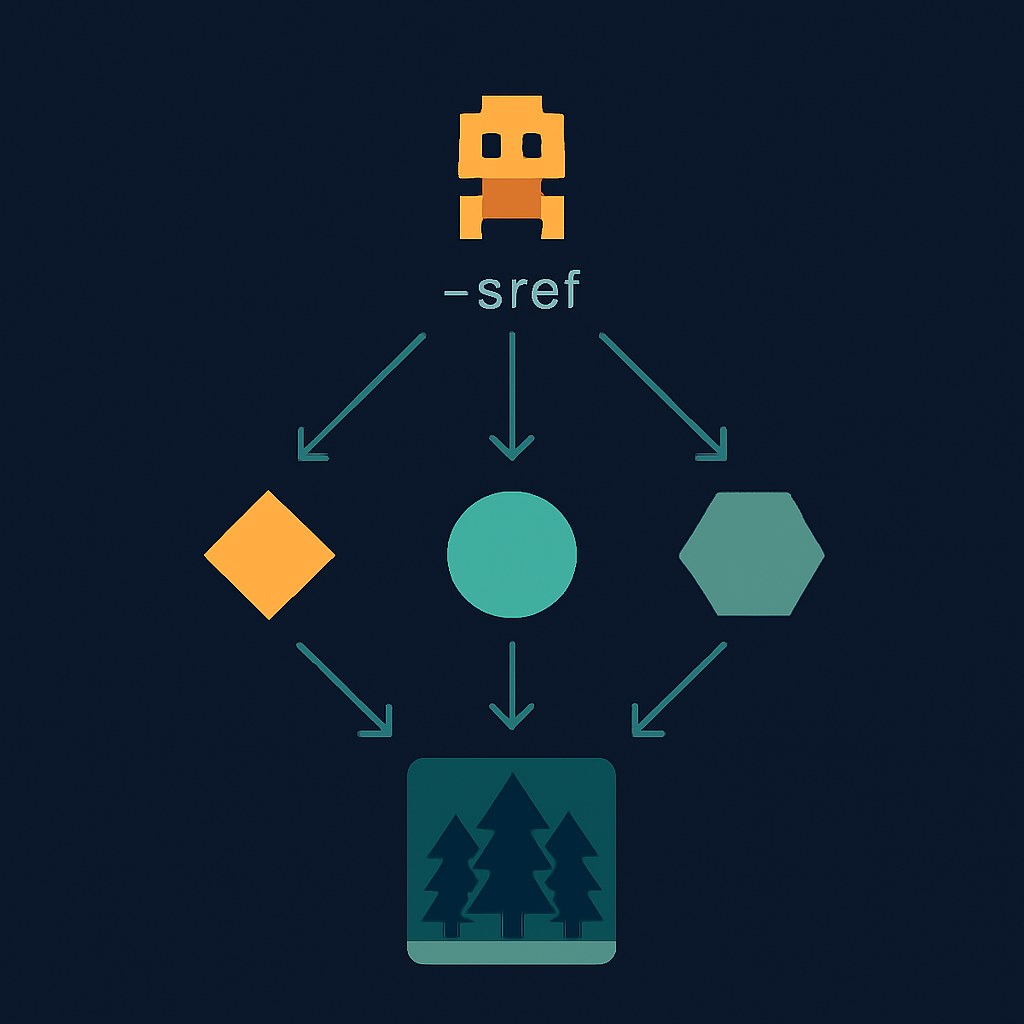
- Midjourney has `--sref` (style reference). You paste the URL of your existing character art after that flag, and Midjourney pulls the colors, textures, lighting, and mood from it, not the subject, just the visual feel. You can push or pull how strongly it applies with `--sw` (range 0 to 1000, default 100). This is probably the most direct route if you're already a Midjourney subscriber.
- Leonardo.Ai has a dedicated Style Reference upload in its image generation panel, plus a separate Content Reference option if you want to match structure instead of just vibe. Image-to-image is also available. Style reference and image-to-image are accessible on the free tier, though token limits apply, check their current feature page before you count on it.
- Adobe Firefly has a Style Reference option, you upload your character art under Styles > Reference and it applies that look to new text-to-image generations. (You may also see it referred to as Generative Match depending on which version of the UI you're in, if you can't find it by one name, try the other.) Firefly also has a Structure Reference if you want to control composition. Adobe's help docs suggest this feature is available broadly, but whether your specific account tier includes it is worth a quick check on Adobe's pricing page before you rely on it.
For any of these, the workflow is the same: open the tool you used in Part 2, upload or link your character sprite, and use it as a style reference when generating your first background scene. Start with a single establishing shot, something like the main environment your character will move through, before you worry about tilesets.
A useful prompt structure to get started:
 Midjourney →
 Leonardo.Ai →
 Adobe Firefly →
side-scrolling forest background, ancient trees, dappled light, pixel art style, warm earthy color palette, no characters, game environment, seamless horizontal composition --sref [YOUR_CHARACTER_IMAGE_URL] --sw 120
dungeon interior background, stone walls, torchlight, hand-drawn illustration style, muted desaturated colors, side-scrolling game scene, no UI elements, no characters --sref [YOUR_CHARACTER_IMAGE_URL] --sw 100
Making tilesets that actually tile, and dropping them into your game
Here's the thing about tilesets that catches almost everyone: AI-generated tiles usually don't tile cleanly out of the box. The seams show. You'll see it immediately the first time you place them in Phaser or PixiJS.
The cleanest path to seamless tiles depends on which tool you're using:
- Stable Diffusion (AUTOMATIC1111) has a built-in Tiling checkbox in the img2img and txt2img panels, this is documented in third-party guides rather than AUTOMATIC1111's own docs, so if you can't find it exactly where described, poke around a bit. Enable it, then add words like "seamless texture, symmetrical pattern" to your prompt. Even with this on, seams can appear, it helps a lot, but it's not perfect.
- For anything else, you'll need a quick manual fix. The standard workflow: generate your tile, then open it in Aseprite (use tile mode) or Photoshop (Filter > Other > Offset, shift by half the tile's width and height). That moves the seams to the center of the image where you can paint over them. GIMP has a GEGL seamless blend that does something similar automatically.
A couple of things worth knowing before you start:
Organic textures, grass, dirt, sand, water, lava, are forgiving and usually only need minor fixes. Structured surfaces like brick walls or cobblestone are much harder, and directional tiles (roads, rivers) are genuinely tricky even for experienced artists. Start with the organic stuff.
Also: bigger tiles are easier. A 64×64 tile has enough edge pixels to smooth out seams. A 16×16 tile is a much harder problem, there's almost no room to work with.
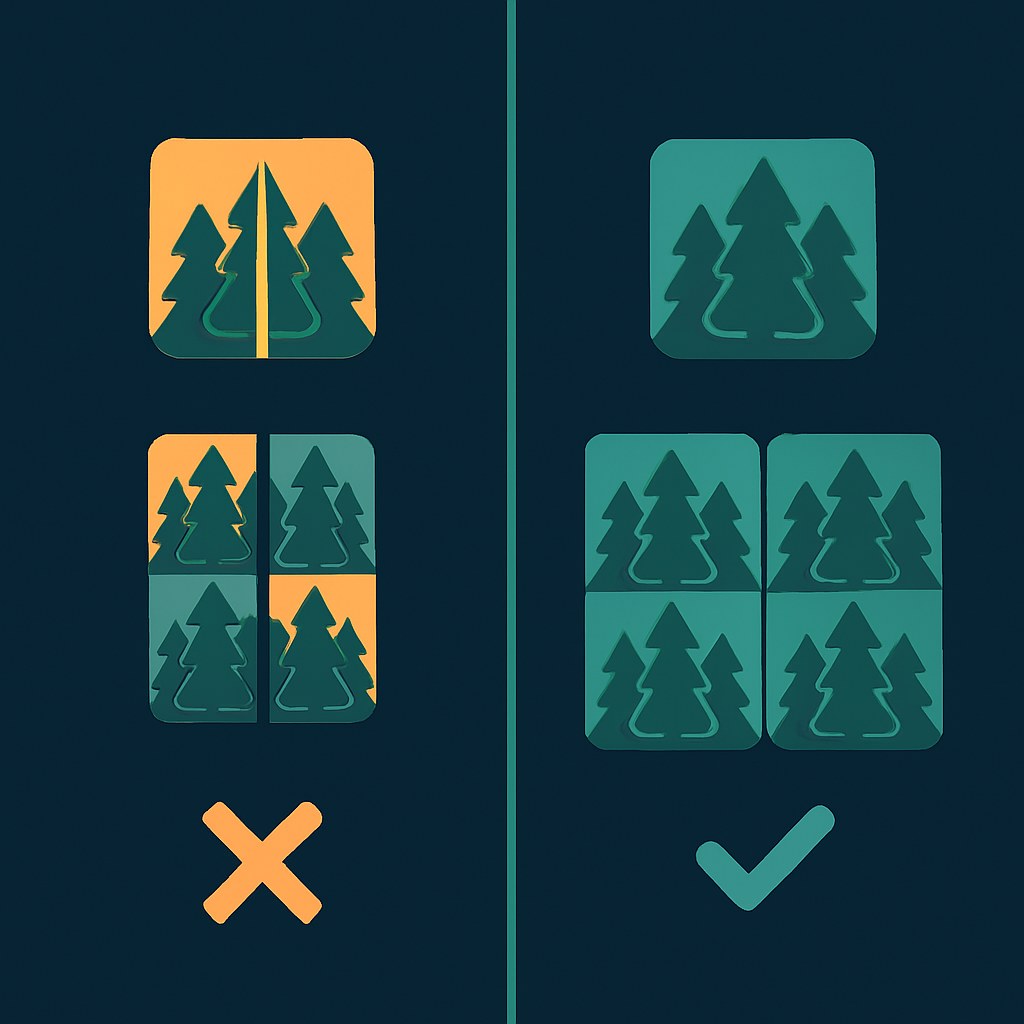
One thing to flag from the research: game "tiles" (distinct assets placed in combinations) and the ML concept of "tiles" (slices of a larger image) mean different things to AI tools. If you're generating a tileset and the results look like slices of one image rather than individual reusable pieces, that's why. Prompt for "individual seamless ground tile" rather than "tileset" to get closer to what you actually need.
Dropping it into your game: browser game frameworks like Phaser expect either a single background image or a tilemap with individual tile images. PNG is the safest format for both, wide support, lossless, handles transparency. Your engine's own docs will tell you what resolution to target; there's no universal answer, and the specifics vary enough that guessing here would just send you in the wrong direction.
Before you publish anything: the commercial rights situation for your backgrounds follows the same plan-level rules as your character art from Part 2. Midjourney's commercial use terms vary by subscription tier, check their current terms of service directly, since the details aren't something to rely on a third-party summary for. Adobe Firefly's IP indemnification covers paid Creative Cloud subscribers, not free accounts. Leonardo.Ai's official policy says free-tier users can use outputs commercially, but your generations are public and other users may also be able to use them, so read their terms carefully and decide whether that arrangement works for what you're building before you publish.
seamless tileable grass texture, individual ground tile, top-down view, organic variation, pixel art style, no seams, 64x64, game asset, flat lighting
The style reference workflow is genuinely the unlock here, once you're feeding your character art back into the generator as a reference, the gap between "characters" and "backgrounds" gets a lot smaller. The tileset step takes a little patience the first time, but the Offset-and-paint approach is fast once you've done it once. No hands-on testing was done for this guide; everything here is sourced from official docs and independent walkthroughs, so your mileage may vary slightly depending on current feature availability. Part 4 will cover animation and sprite sheets.